
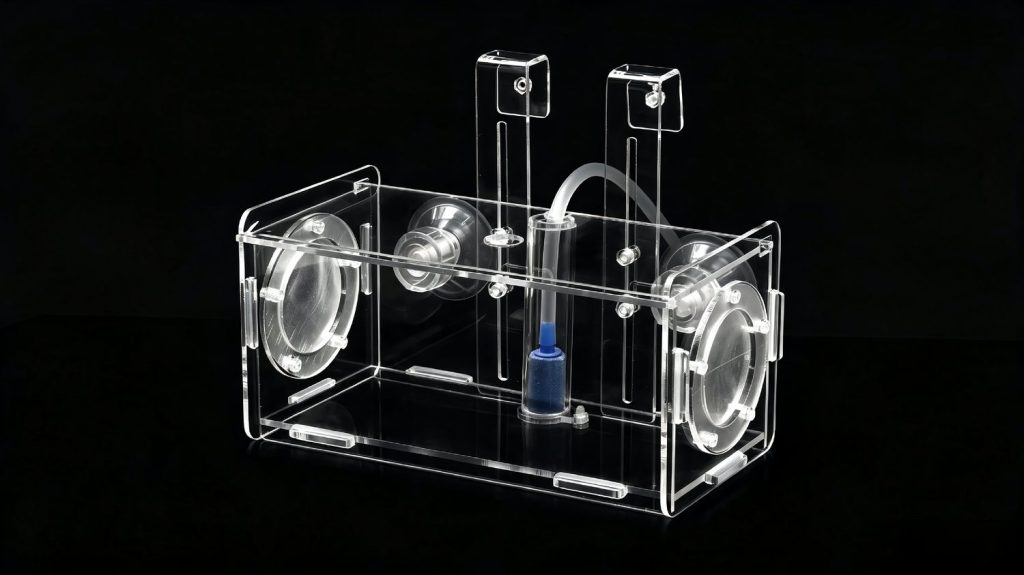
Short answer: Solvent bonding works best when accurately fitted acrylic surfaces allow controlled wetting and the joint can be fixtured without movement. UV-curing adhesive can fill a defined small gap and gives the operator more positioning time, but the light must reach the adhesive and the chemistry must suit the material and service environment.
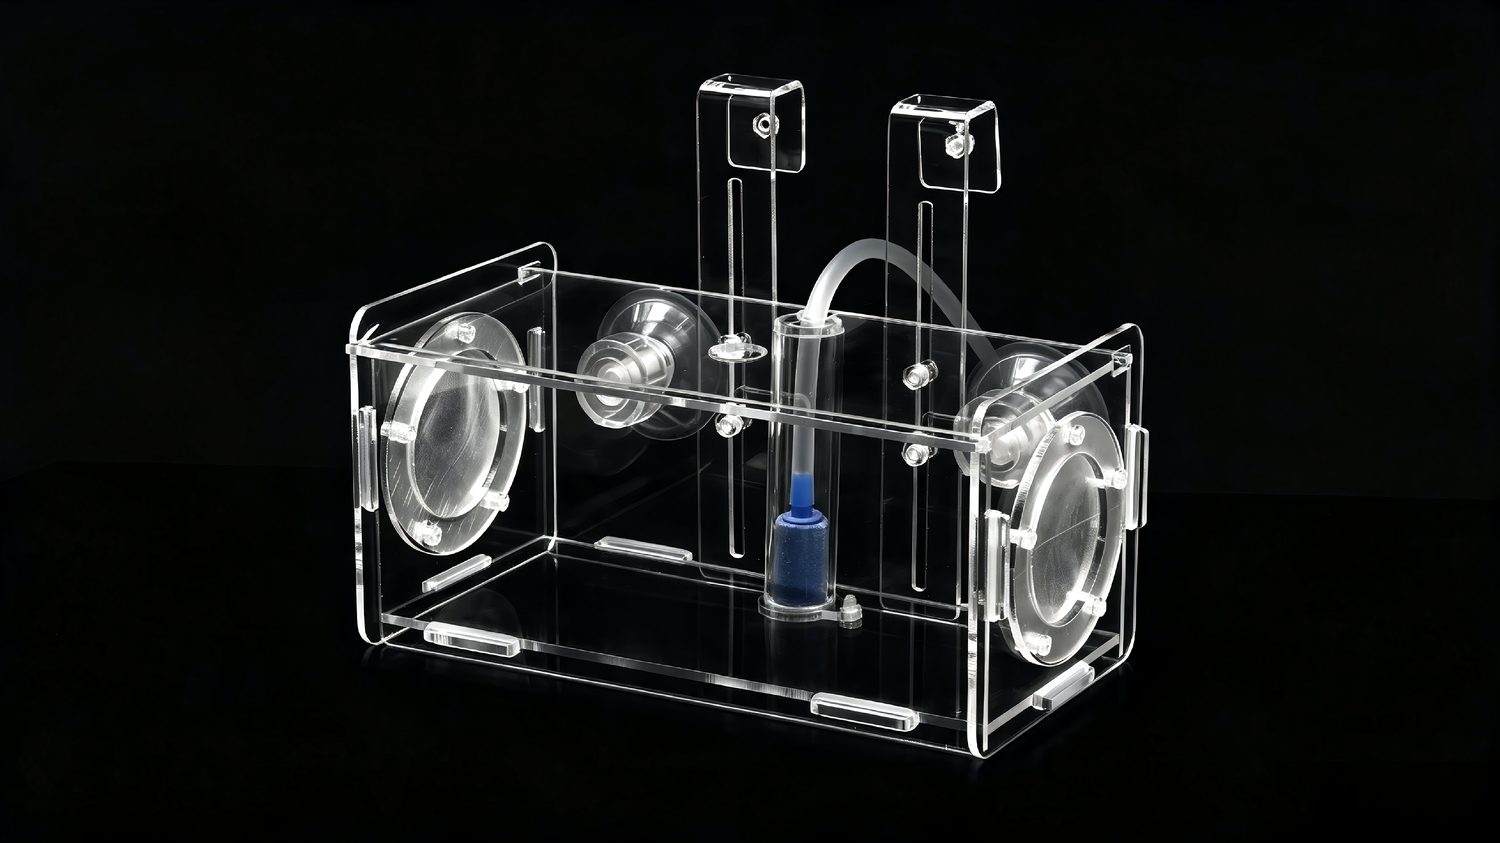
Solvent vs UV bonding: choosing the joint method
A useful review of solvent bonding acrylic starts with the part’s function, material grade, thickness, dimensions, environment, load, expected access, cosmetic faces and inspection method. Where a safety function, chemical exposure or regulated installation is involved, assign an engineer or qualified compliance professional to approve the requirement.
This guide stays within one practical decision: solvent versus UV adhesive joint selection. Manufacturing capacity, pricing and lead-time questions are covered on the linked capability or product page. Keeping the engineering question separate helps the reader reach a decision without mixing it with purchasing details.
| Situation | Best-fit use or concern | What to verify |
|---|---|---|
| Solvent/capillary | Close-fitting acrylic joint | Surface fit and controlled application |
| UV-curing adhesive | Visible joint with light access | Cure depth, shadowing and adhesive data |
| Mechanical assembly | Serviceable or mixed-material joint | Fastener load and sealing detail |
| Hybrid joint | Location plus service requirement | Compatibility of every process |
Joint design for bonded acrylic
- Define joint function: structural, sealed, optical, or simply positional.
- Specify material grade, thickness and any prior polishing or coating.
- Design a fixture that controls alignment without starving the bond line.
- Approve bubbles, witness marks and edge appearance on a representative sample.
- Validate the chosen adhesive against temperature, cleaning and fluid exposure.
What our factory reviews before quoting
For bonded joints, our review checks: joint geometry (butt, lap, or mitre), solvent capillary gap (0.1–0.2 mm for solvent, 0.05–0.1 mm for UV adhesive), part restraint during cure, and whether the joint will see stress, solvent exposure or temperature cycles. Solvent bonding gives invisible joints on flush surfaces; UV adhesive fills gaps up to 0.5 mm and bonds acrylic to other plastics or metal. We confirm cure equipment and throughput against your production volume.
What changes when the bond must seal
For this guide on solvent vs UV bonding for clear acrylic, the failures that matter most in production and service are:
- Check: Using adhesive to compensate for uncontrolled part fit.
- Check: Trapping bubbles in a cosmetic joint with no escape path.
- Check: Blocking UV exposure behind an opaque print or deep feature.
- Check: Judging final strength immediately after handling rather than after the documented cure.
How to verify the result
Related engineering and purchasing resources
- Acrylic CNC machining tolerance guide
- How to request a fabrication quote
- ISO 9001 quality-control process
- Acrylic fabrication FAQ
Primary references
- ACRYLITE cementing fabrication guidance. Confirm the current edition, scope and applicability for the project.
- ACRYLITE annealing fabrication guidance. Confirm the current edition, scope and applicability for the project.
Related engineering guides
Review your drawing with an acrylic fabricator
If the decision in this guide affects a production part, send the drawing, application conditions and acceptance criteria. See our acrylic bonding and assembly page, then request a manufacturability review. Typical samples can be produced in 48 hours and production in 7 days after drawing approval when the project scope supports that schedule.
Frequently asked questions
Q: Is solvent-bonded acrylic waterproof? A: A well-designed joint can be sealed, but waterproof performance must be validated for geometry, fluid, pressure and service conditions.
Q: When is UV adhesive better? A: It can help when positioning time, small-gap filling and optical appearance matter and the full joint can receive the specified UV exposure.
Q: Why do clear joints develop bubbles? A: Typical causes include poor fit, contamination, application speed, trapped air and a fixture that moves during cure.