
Short answer: Hotspot control depends on LED pitch, beam angle, diffuser-to-LED distance, internal reflectance, panel scattering and viewing distance. Start with the optical geometry, not a fixed spacing rule. A shallow box generally needs tighter pitch, stronger mixing or an added optical layer; every solution trades brightness, depth, cost and serviceability.
Before specifying the manufacturing route for this part, confirm the load case, environment, access pattern and visual standard against the drawing. The notes below reflect AcrylicFabWorks’ ISO 9001 facility and documented equipment; quoted material grade, drawing revision and project test evidence remain controlling.
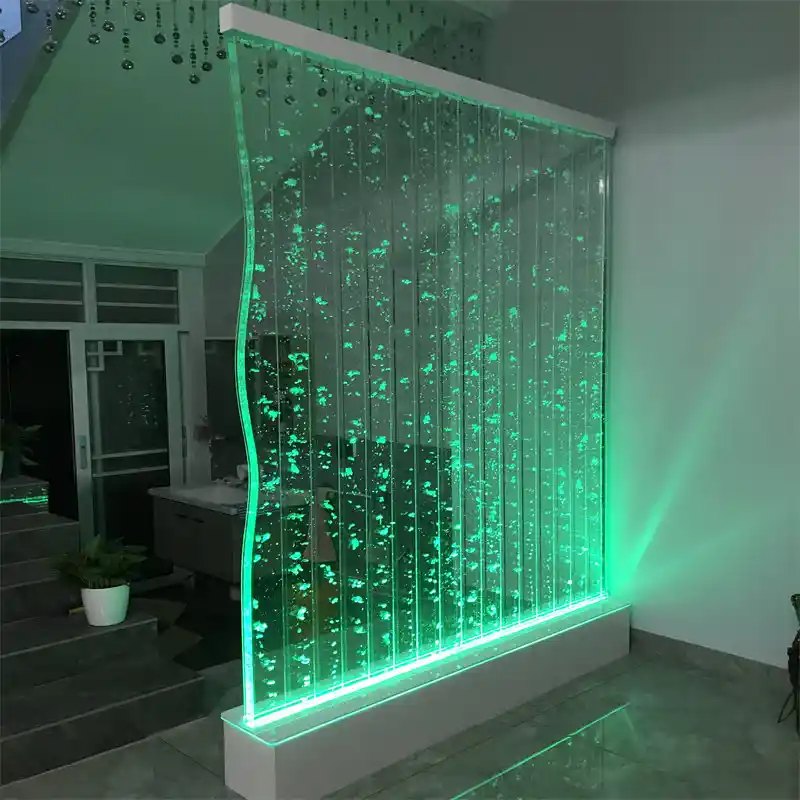
Backlit acrylic: LED spacing and hotspot control
A useful review of backlit acrylic panel design starts with the part’s function, material grade, thickness, dimensions, environment, load, expected access, cosmetic faces and inspection method. Where a safety function, chemical exposure or regulated installation is involved, assign an engineer or qualified compliance professional to approve the requirement.
This guide stays within one practical decision: LED pitch, cavity and hotspot control in backlit acrylic panels. Manufacturing capacity, pricing and lead-time questions are covered on the linked capability or product page. Keeping the engineering question separate helps the reader reach a decision without mixing it with purchasing details.
| Situation | Best-fit use or concern | What to verify |
|---|---|---|
| Visible LED dots | Pitch too wide or cavity too shallow | Increase mixing distance or revise optical stack |
| Dark edges | Poor perimeter reflection or LED layout | Review border spacing and reflective liner |
| Bright frame lines | Support shadows or reflective discontinuity | Move structure or mask transition |
| Color/brightness bands | LED bin, thermal or driver variation | Control components and operating condition |
Edge-lit vs direct-lit layouts
Use the following sequence during design review. It prevents a cosmetic preference from overriding a functional requirement and gives the supplier a testable acceptance condition. For custom work, AcrylicFabWorks follows GB/T 1804-2000 / ISO 2768-1 for unspecified general tolerances; actual tolerances still depend on the feature size, geometry, material condition and drawing review.
- Fix panel size, viewing distance, box depth and target luminance.
- Obtain LED photometry, pitch limits, thermal data and dimming range.
- Model or prototype center, edge, corner and structural-support zones.
- Measure uniformity after thermal stabilization at multiple dimming levels.
- Create a golden sample and lock component, liner and assembly tolerances.
Do not release production from an illustrative table alone. A sample or first article should reproduce the real resin, thickness, feature geometry, support, process sequence and inspection lighting. If the part will be bonded, cleaned, loaded, heated or installed outdoors, include that downstream exposure in the validation plan. For production orders, our MOQ is 20 pieces per design and specification; samples and one-off prototypes are quoted separately.
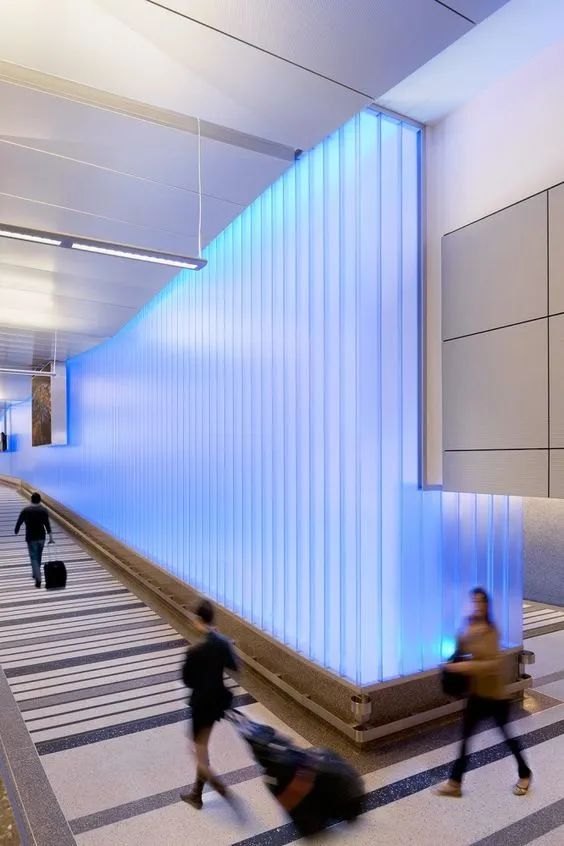
What our factory reviews before quoting
For backlit panels, we review the lighting layout: LED pitch relative to the acrylic-to-LED distance (keep pitch ≤ 2× distance for even light), edge-lit versus direct-lit, and the diffuser or engraving pattern needed. We confirm acrylic grade (clear for edge-lit with engraved patterns, diffused for direct-lit), thickness, and edge finish quality — flame-polished edges transmit light best for edge-lit panels. We also check heat: LED strips near acrylic need ventilation to prevent softening or yellowing.
What changes when panels are large
For this guide on backlit acrylic panels and LED spacing, the failures that matter most in production and service are:
- Check: Using a single LED-spacing number for every diffuser and cavity.
- Check: Judging uniformity before LEDs reach operating temperature.
- Check: Ignoring edge and corner behavior in a center-only mock-up.
- Check: Approving the optical stack but changing reflective paint or liner in production.
How to verify the result
Agree on inspection before production. State the instrument or visual setup, sample conditioning, viewing distance, lighting, measurement locations and acceptance rule. Save the approved sample and process record with the drawing revision. If a result changes, compare resin lot, tool or adhesive lot, machine setup, environment and test method before changing the specification. This evidence trail is more useful than an unsupported performance claim and makes later supplier or customer reviews much faster.
Related engineering and purchasing resources
- Custom light diffuser panels
- How to request a fabrication quote
- ISO 9001 quality-control process
- Acrylic fabrication FAQ
Primary references
- CIE definition of a diffuser. Confirm the current edition, scope and applicability for the project.
- CIE Division 2 optical-measurement technical committees. Confirm the current edition, scope and applicability for the project.
Related engineering guides
Review your drawing with an acrylic fabricator
If the decision in this guide affects a production part, send the drawing, application conditions and acceptance criteria. See our custom light diffuser panels page, then request a manufacturability review. Typical samples can be produced in 48 hours and production in 7 days after drawing approval when the project scope supports that schedule.
Frequently asked questions
Q: How far should LEDs be from acrylic? A: Distance depends on pitch, beam, diffuser properties and uniformity target; determine it with the actual optical stack.
Q: How can LED hotspots be reduced? A: Increase mixing distance, tighten pitch, improve internal reflection or add a suitable optical layer, then recheck output.
Q: What should a backlit-panel sample include? A: Use production LEDs, driver, cavity, liner, supports and full diffuser construction, including edges and corners.
Editorial boundary: This article provides manufacturing and specification guidance. Safety, code, electrical, fire and regulatory decisions remain with the responsible project professionals and relevant authorities.