
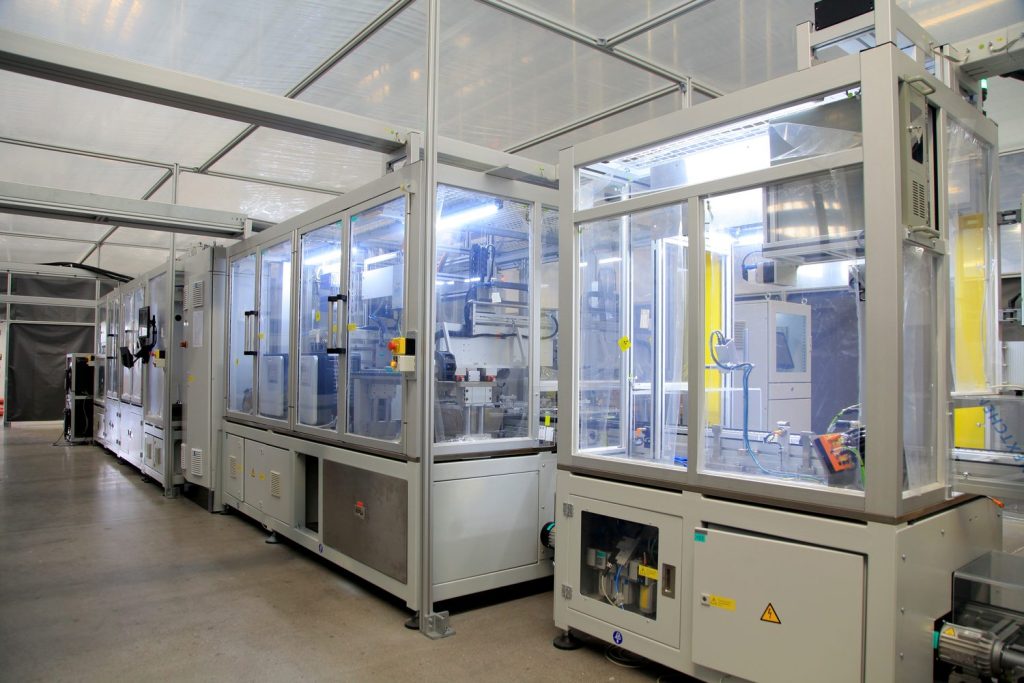
A well-designed acrylic equipment enclosure specifies six things before fabrication: panel thickness matched to span (typically 6–12 mm), joint method (solvent-bonded vs mechanical), ventilation area, cable/service entries, access door hardware, and thermal clearance to any heat source above 70 °C. Getting these onto the drawing before the RFQ typically cuts one full revision cycle — about a week — from delivery time.
We fabricate custom acrylic equipment enclosures for machine builders, test-equipment makers and lab-automation OEMs. The twelve checks below are the exact list our engineers run on every incoming enclosure drawing — the same issues account for most quote clarifications and almost all rework.
Structure (Points 1–4)
1. Panel thickness vs unsupported span. Rule of thumb: up to 300 mm span → 5–6 mm; 300–600 mm → 8 mm; 600–1000 mm → 10–12 mm; above 1 m unsupported → 12 mm+ or add framing. Acrylic is stiff for a plastic (flexural modulus ~3.2 GPa) but large flat panels still bow under their own weight. Full span table → <a href=”/blog/acrylic-machine-guard-thickness/”>acrylic thickness selection</a>
2. Joint method. Solvent-bonded corners are rigid, clean and permanent — the default for fixed panels. Mechanical fastening (machined screw bosses, corner blocks, or metal frame) is for enclosures that must disassemble. Don’t mix goals: a bonded box with one screwed panel beats a fully screwed box for cost and rigidity. Bonding methods → acrylic bonding methods
3. Base and mounting. Enclosures sitting on machines vibrate. Specify mounting feet/holes with rubber isolation, and never hard-bolt acrylic directly against uneven metal — torque plus surface irregularity is a classic crack initiator. Oversize mounting holes by 0.5 mm and use shoulder washers.
4. Corner radii, not sharp corners. Internal sharp corners concentrate stress — the origin of most field cracks. Every internal corner and cutout on the drawing should carry R ≥ 3 mm. This costs nothing at CNC time and doubles practical durability.
Function (Points 5–8)
5. Ventilation. Electronics inside sealed acrylic overheat: PMMA’s continuous service limit is ~80 °C and it insulates well. Options, cheapest first: slot arrays (CNC-machined, specify open area %), louver cutouts, or fan apertures with standard 40/60/80/120 mm hole patterns. As a starting rule, allow vent area ≥ 1.5× the fan aperture on the exhaust side. Machining methods → ventilation and cable openings
6. Cable and service entries. Specify actual grommet/gland part numbers (e.g., M20 cable gland → Ø20.5 mm hole) rather than “hole for cables.” Nothing delays a quote like undimensioned service cutouts.
7. Access: door, lid, or removable panel? Hinged doors need hardware pads (bonded or machined bosses) and a stop; sliding panels need machined tracks; lift-off lids need finger clearance or handles. Pick per maintenance frequency: daily access → hinged with magnetic catch; monthly → thumbscrew panel; yearly → screwed panel.
8. Heat sources. Map anything above 70 °C inside the enclosure. Keep acrylic ≥ 50 mm from such sources or add an aluminum heat shield. For continuous hot zones, we’ll suggest a hybrid build — acrylic body, polycarbonate or metal panel at the hot spot.
Fabrication & Procurement (Points 9–12)
9. Tolerance sanity. Enclosure panels don’t need ±0.05 mm anywhere except hardware interfaces. Blanket general tolerance ±0.3 mm, hardware holes ±0.1 mm — this alone visibly reduces quotes. Why → <a href=”/blog/acrylic-cnc-machining-tolerances/”>acrylic CNC machining tolerances</a>
10. Material grade and color. Clear cast acrylic is default. Specify if you need: ESD-safe grade (electronics), UV-filtering, frosted/diffused (light boxes), or colored/tinted (glare, IP protection of view). ESD guidance → ESD acrylic enclosures
11. Surface and edge finish. State which surfaces are cosmetic. “All visible edges polished” is a legitimate spec — but it costs; “front face optical, rest machined” quotes cheaper. Options → polishing services
12. One assembly drawing. Panels dimensioned individually with no assembly view is the #1 cause of quote back-and-forth. One exploded/assembly view with overall dims lets us verify fit, bonding sequence, and shipping method in a single pass — and quote same-day.
The Cost Levers, Ranked
| Design choice | Typical cost impact |
|---|---|
| Blanket tight tolerance → sane tolerance | −15–30% |
| All-edges polished → cosmetic faces only | −10–20% |
| Screwed everywhere → bonded fixed panels | −10–15% |
| Panel count reduction (fold/bend vs bond) | −5–15% |
| Metal frame → self-supporting bonded box | project-dependent |
FAQ
Q: What thickness should an acrylic enclosure be? A: 6 mm for benchtop enclosures under 400 mm; 8–10 mm for machine-mounted enclosures up to ~800 mm; 12 mm+ above one meter of unsupported span. When vibration is present, go one step thicker.
Q: Solvent bonding or screws — which is stronger? A: A proper solvent weld approaches parent-material strength and outperforms fasteners for rigidity. Use mechanical fastening only where disassembly is required.
Q: Can you build the enclosure from my rough sketch? A: Yes — we regularly return a dimensioned fabrication drawing from a sketch plus key dimensions for your approval before cutting. It adds 1–2 days versus a finished drawing.
Q: What’s the largest one-piece enclosure you can make? A: Bonded enclosures up to 3000 × 2000 mm; larger builds ship as bonded sub-assemblies with mechanical joints on-site. → large-format fabrication
Designing an enclosure now? Send your drawing — or sketch — and get a fabrication-checked quote within 12 hours.
Have a drawing or a question?
Send whatever you have — drawing, STEP file or sketch — and get a quote or DFM feedback within 12 hours.